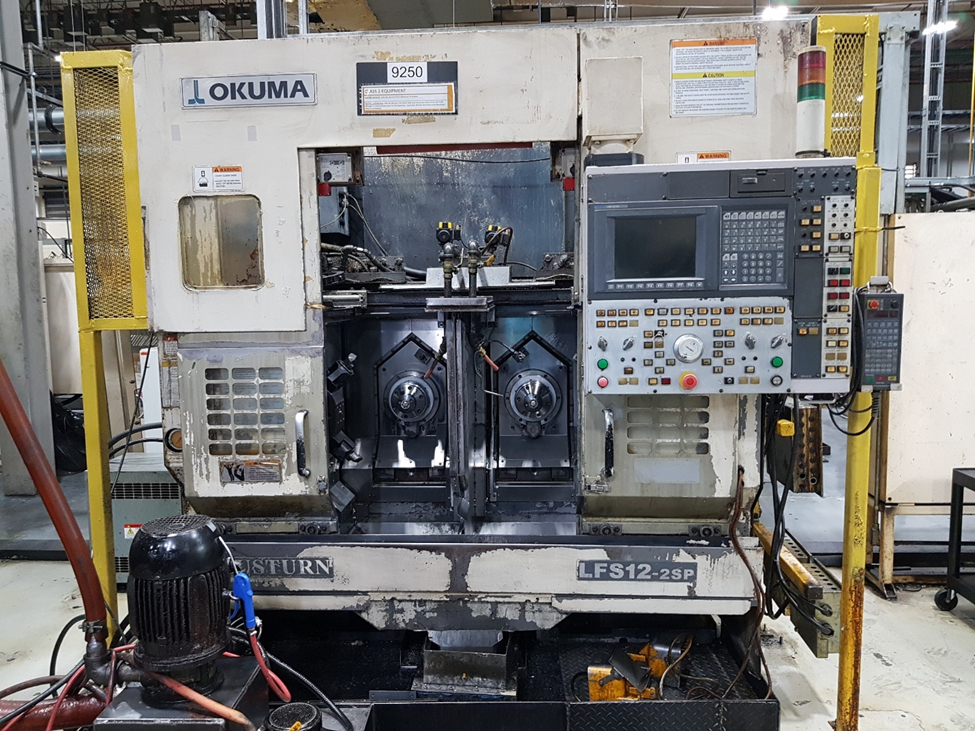
The Challenge: A leading manufacturing company wanted to install automation in their existing special-purpose CNC machine. In the past, they spent hours, days, and weeks manually measuring the features of the machine and then going back to the desk to create a CAD model only to realize that they needed to go back to the shop floor to take more measurements. Often CAD models created from manual measurements had much larger deviations as compared to reality due to errors in manual measurement methods. Automation implementation took many more iterations than desired due to inaccuracies in the CAD model used to design it.
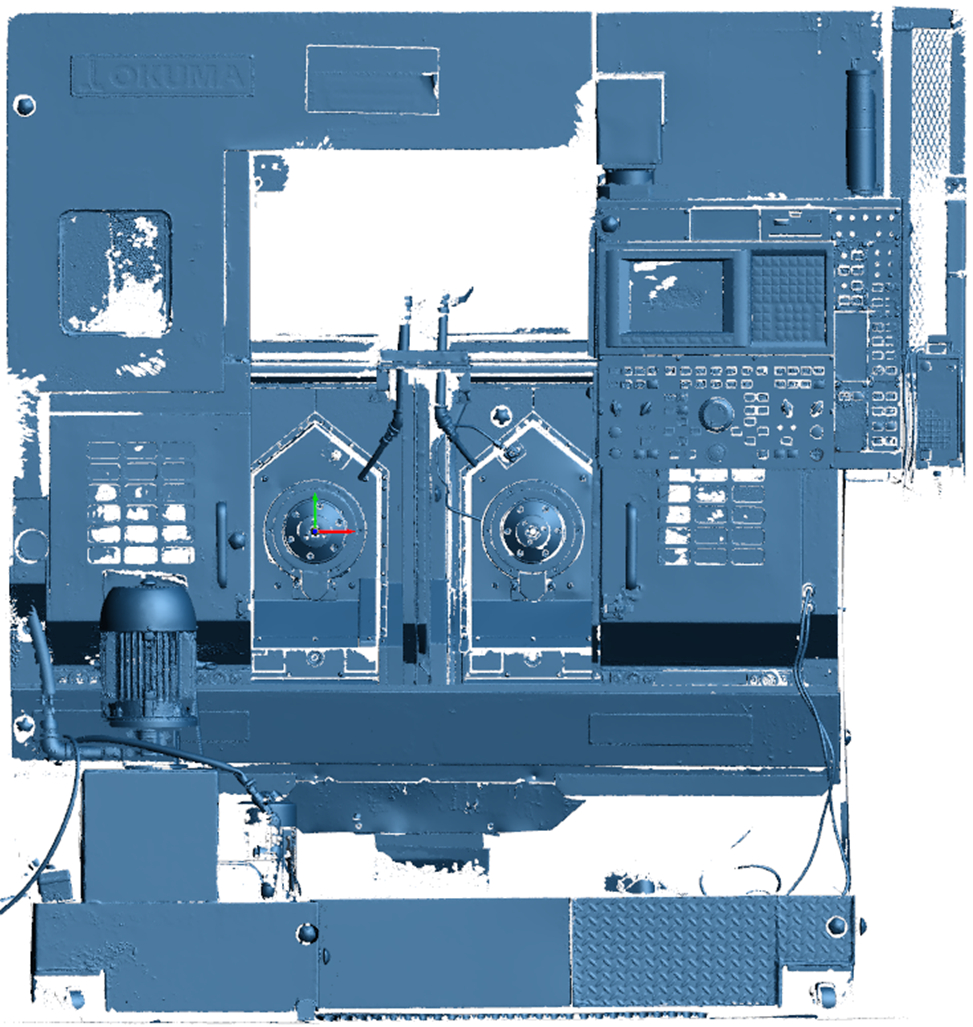
The Solution: V3D Technologies was contacted to solve this problem. We went on-site and 3D-scanned the machine using a certified metrology-grade laser 3D scanner. Positioning targets were applied on the machine surface to maintain scan data accuracy and to generate a single polygon model. The scanned polygon model was aligned to the coordinate system in VXmodel software.

Polygon Model (scanned mesh) of Special Purpose CNC machine
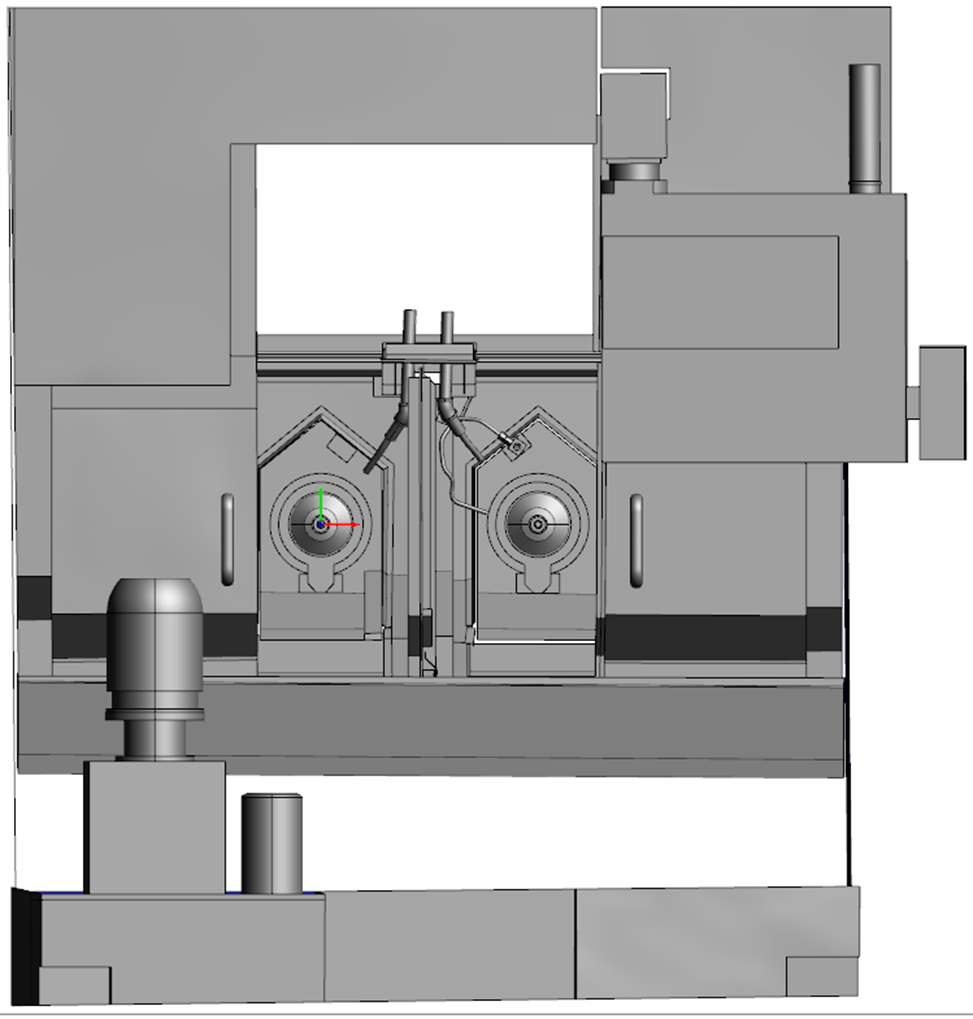
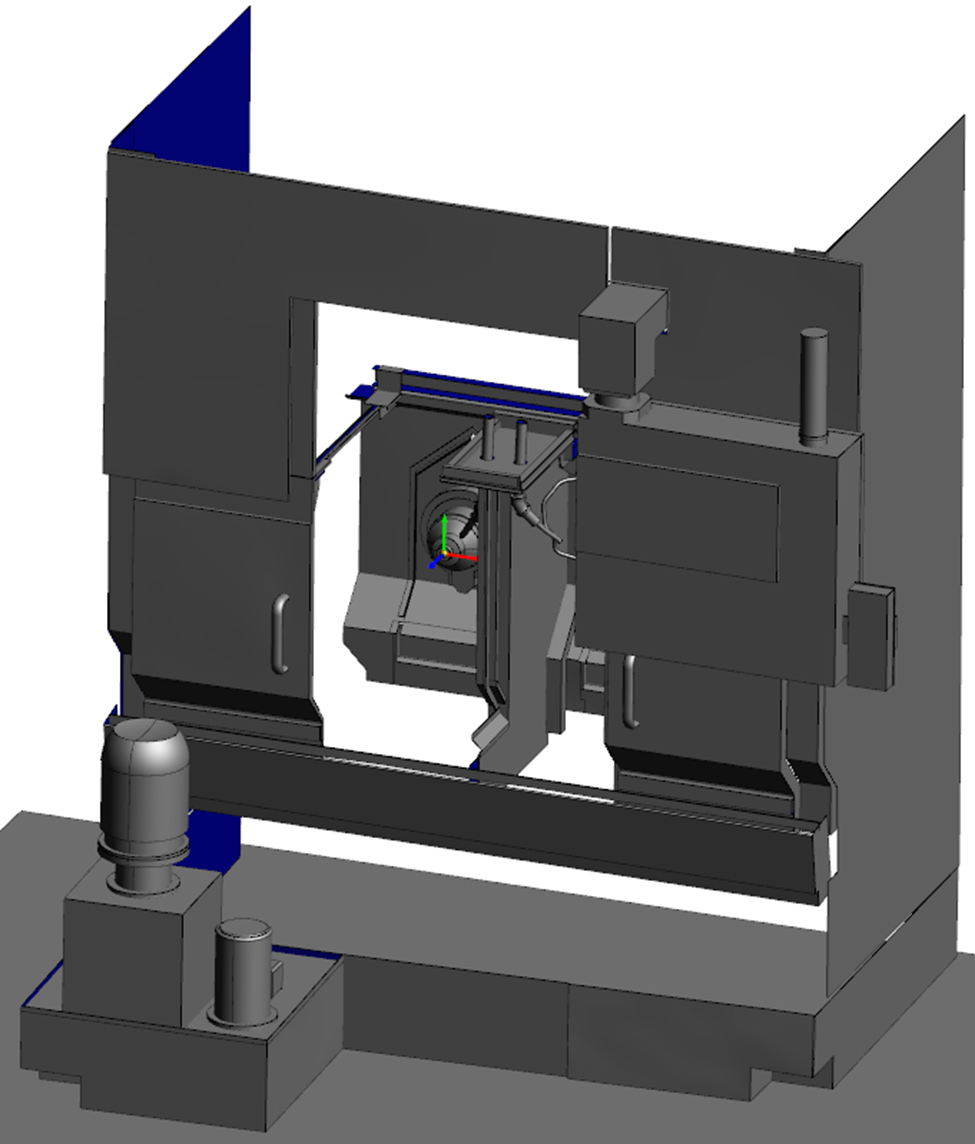
A parametric CAD model was then created in Reverse Engineering software using polygon model (scan data).

Surface CAD model of Special Purpose CNC machine

Surface CAD model of Special Purpose CNC machine
Conclusion: The customer appreciated the quick turn-around time and accuracy of the CAD model as compared to the scanned polygon model. They were able to install automation much faster with fewer iterations than in the past.
